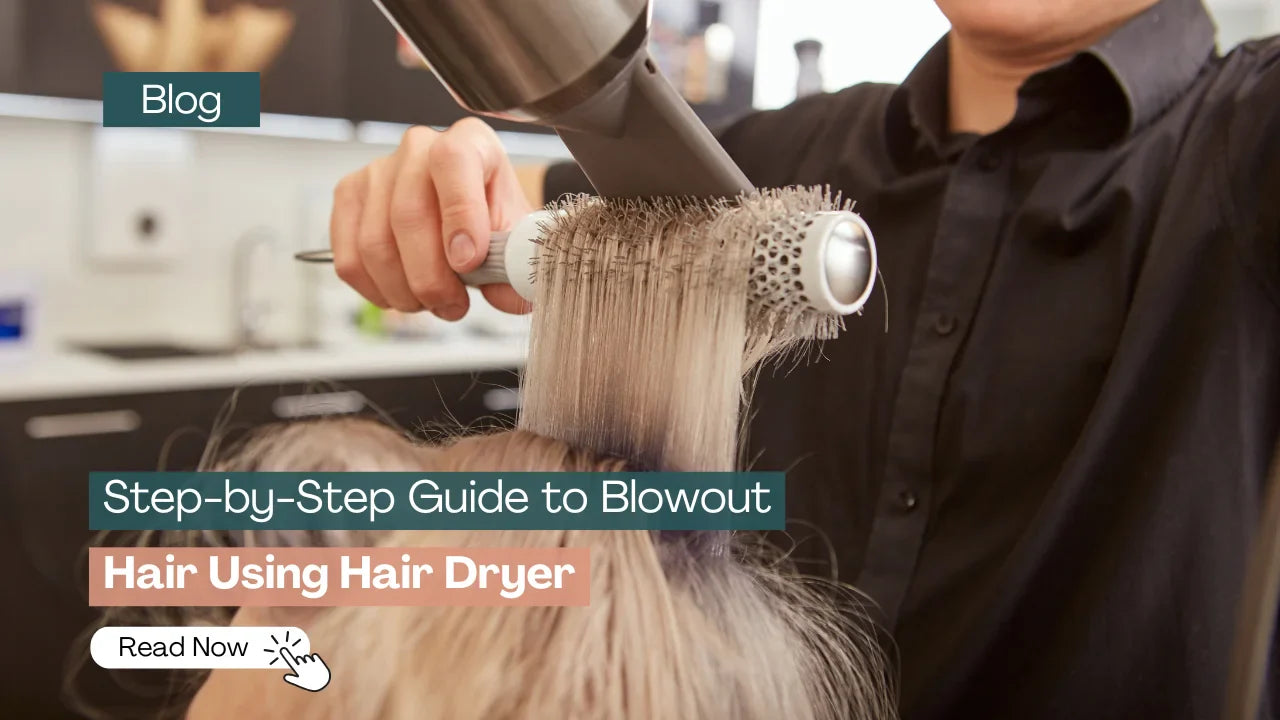
Who doesn’t like a bouncy and voluminous blowout look? However, going to the salon and sitting on a chair can be quite frustrating. But honestly, you can achieve a salon-like blowout hair look at home with little practice and proper technique.
This article will give you a step-by-step guide to blowing out hair at home, including the tools and products needed.
What is blowout?
Blowout is a hairstyle that uses a hairbrush and dryer to give you voluminous and bouncy hair. Although it includes basic hair care tools, it requires practice and technique to achieve the best result.
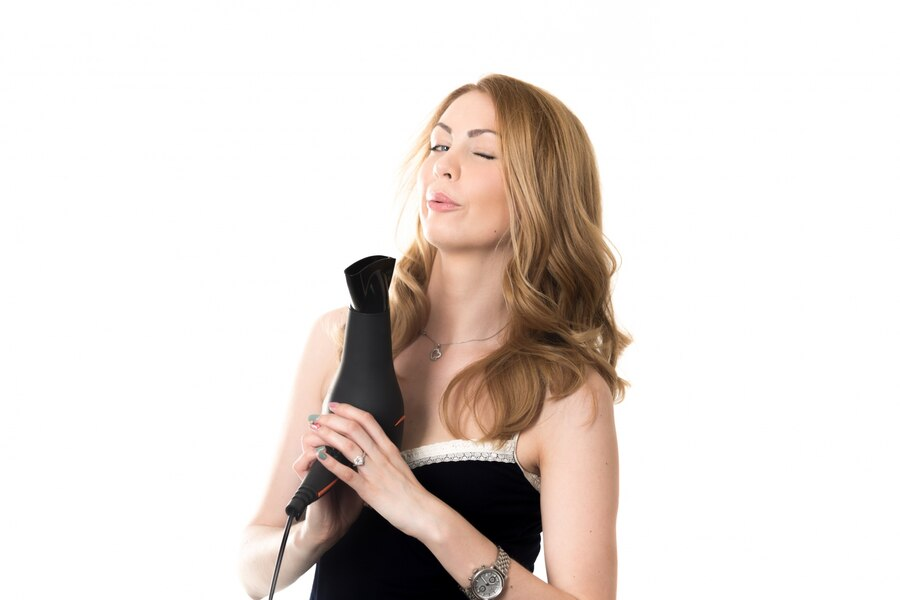
People often confuse blow-drying with a blowout, but there’s a significant difference between the two. Blow-drying is a basic process that simply dries your hair and helps reduce frizz. On the other hand, a blowout is a hairstyling technique that uses a round brush and a dryer to create smooth, voluminous, and bouncy hair.
Hair tools required for the perfect blowout
Before we land on the process, let’s discuss the hair tools and products required for a perfect blowout:
- Hair dryer
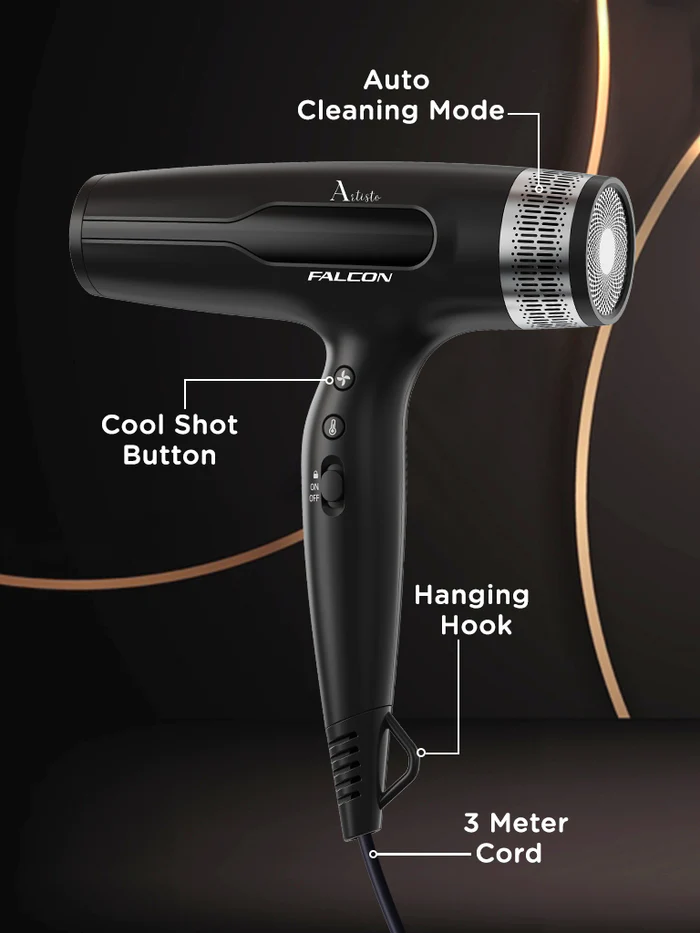
The choice of hair dryer significantly impacts your overall hair look and health. So, invest in an Ionic hair dryer like Artisto Falcon that offers an ionic generator for smoother & shinier hair.
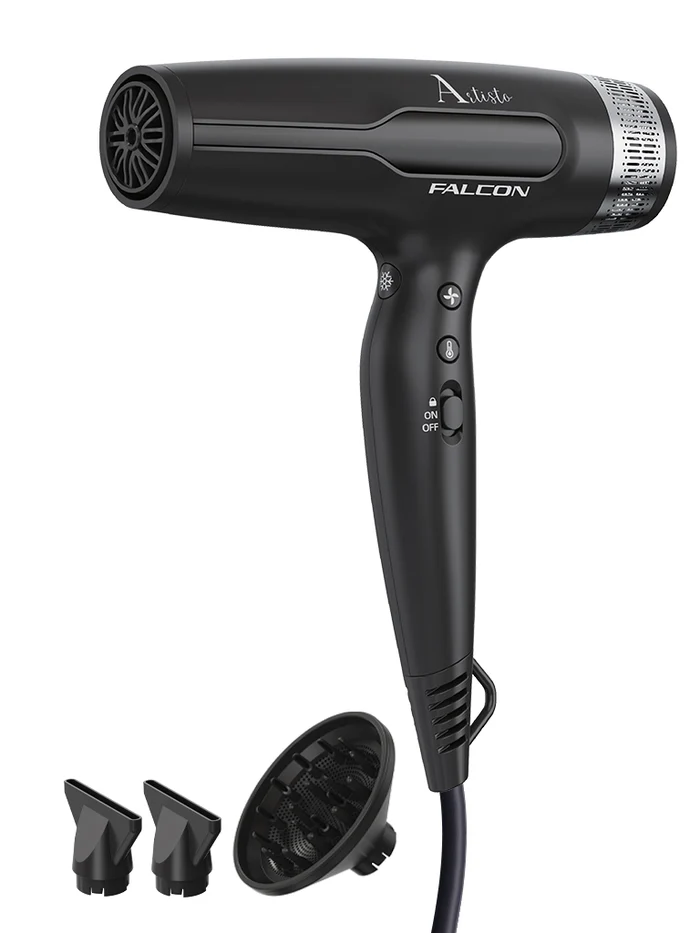
The adjustable 7 heat and 3 wind settings make this hair dryer ideal for all hair types. The cool shot button also ensures a shiny and long-lasting blow-out look.
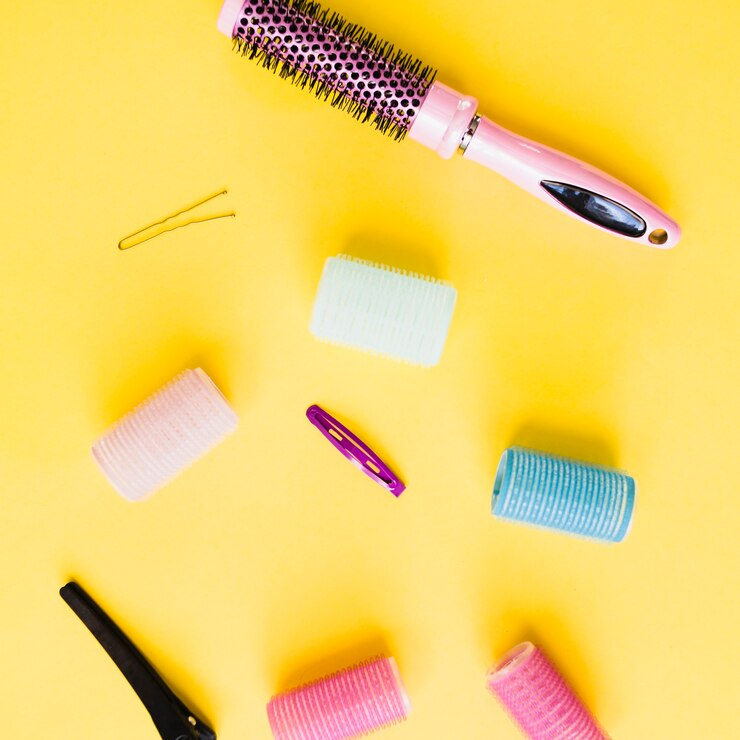
- Two types of brushes
Using the right hairbrush can make a significant difference in achieving your desired hairstyle. For the best results, use two essential brushes: a wide-toothed comb to gently detangle without causing breakage and a round brush with soft bristles for a smooth, voluminous finish while styling.
- Clips
Invest in high-quality alligator or no-crease clips designed to hold your hair securely without leaving kinks or dents. These clips are essential for heat styling, allowing you to section and secure your hair effortlessly while maintaining its natural shape.
- Heat protectant
The heat styling process is incomplete and harmful to hair without heat-protectant serum. Invest in a lightweight heat-protectant serum or spray.
- Serum and setting spray
Using hair serum and setting spray is optional. Yet, a lightweight serum can help keep your hair shiny and manageable throughout the day. While setting the spray, ensure your hair stays in place long.
A step-by-step guide to achieving salon-like blowout hair at home
Let's move on to the styling process as we are done with tools and products. Here’s a step-by-step guide to blowout hair at home:
- Prep your hair for styling
It’s essential to prep your hair before heat styling it; the same goes for blowing it. First, wash and condition your hair with regular products. Go for moisturizing products if you have dry hair.
After the hair wash, gently squeeze out excessive water from your hair and damp dry it using a microfiber towel or cotton t-shirt. Once done, it’s time to apply a heat protectant.
Use a wide-toothed brush to gently detangle your hair, starting from the ends and working your way up to avoid breakage. Next, apply a heat protectant serum evenly along the length of your hair, focusing on the ends. Begin a few inches from the roots to prevent excess product buildup at the scalp.
- Section your hair
After applying heat-protectant, roughly blow dry your hair up to 80%. Take the wide-toothed brush, detangle your hair, and start sectioning it in different parts. Make two or more hair sections, depending on manageability. First, secure your crown hair with alligator or no-crease hair clips. And continue making hair sections as needed.
- Set your hair dryer
Attach the concentrating nozzle to the hair dryer and set the temperature based on your hair type. Advanced and professional hair dryers like Artisto Falcon offer 7 heat and 3 wind settings.
Set low temperature if you have thin and damaged hair, and set the speed at medium.
- Blow out with the round brush in the right way
Open a hair section, most preferably starting from behind the ears, as it makes styling easier. Next, pick a round brush of your choice. Remember, the bigger the brush you use, the softer curl you will achieve. You can also use a paddle brush for straight and voluminous hair.
The key to a perfect blowout is all about how you handle the brush. Turn on your hair dryer and place a round brush under a section of hair, a few inches away from the roots, to keep it looking natural. Aim the dryer at the brush, rolling it away from your face.
Keep twisting the brush as you move it down the hair shaft, following along with the dryer for that smooth, bouncy finish. Repeat the same process with all hair sections until you have fully dry and styled hair.
- Use the Cool Shot button.
This optional step works best with advanced hair dryers like the Artisto Falcon. If your dryer has a cool shot button, turn it on, place the brush under your hair, and aim it at the brush while tilting it downward. The cool shot helps seal the hair cuticle, reducing heat damage. It also keeps your style in place, making your hair smooth, shiny, and long-lasting.
Read more: The Benefits of Using a Heat Styling Tool with a Cool Shot Button
- Finish with hair serum or setting spray
Once you have styled all your hair sections, let them cool down to room temperature. Rub a small amount of your favorite lightweight hair serum between your palms and apply it to your hair length. Avoid applying it on the scalp; start a few inches away from the roots and focus on the ends. You can also finish with a hair-setting spray for extra hold. These final touches help keep your hair shiny, smooth, and manageable all day.
Conclusion
A blowout may seem complicated, but you can achieve a salon-like look at home with practice and patience. This guide covers all the essential tools and steps to make the process easier. So, save this post and shop for the best hair dryer on Artisto!
Leave a comment
This site is protected by hCaptcha and the hCaptcha Privacy Policy and Terms of Service apply.